Hi all,
This post will guide you to install IBM Websphere MQ version 8 on a Windows 7 Virtalbox instance. The reason for writing this post was the difficulty I have faced when installing due to the ambiguous documentations. Lets start installing.
Prerequisites
- Virtualbox installed in your host machine and Windows 7 installed on it
- IBM Websphere MQ version 7 download (Download it from here)
Installation
Step 01
Setting up the environment
Start the Win 7 instance and install Guest Additions as explained below. We need to follow this since we are going to share files between the host and the guest operating systems.
- Click on the Devices menu in the top most bar and select "Insert Guest Additions CD image". This will install the CD image in to the VM. Then go to My Computer and double click on the Guest Additions CD image to install.
- Go to the settings menu in the Virtualbox and add a shared folder from your host machine.
Copy the necessary files into the shared folder, so that you can access it from the VM.
Step 02
Installing IBM MQ
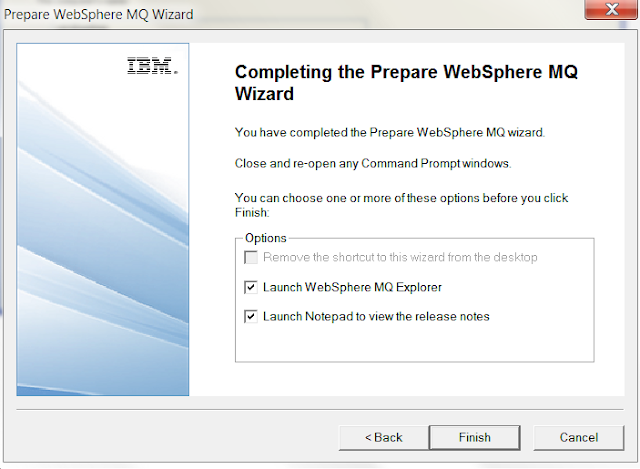
Go to the shared folder from your VM and select the IBM MQ installation file. Install IBM MQ as administrator, otherwise you will not have privileges to some operations.Once the installation started, you can see the following wizard. In here, you can configure the network for either domain account or local machine account. I have used the local machine account, so that I have answered NO for the question.
Then you will be redirected to the following window. Click on Launch IBM Websphere MQ Installer.
Then agree the Licence agreement and continue with the default settings.

This will install IBM MQ 7.5 in your Windows instance. I will discuss the configurations of IBM MQ and using it with WSO2 ESB in my next posts.


